.jpg)
.jpg)


I reuse my container by :
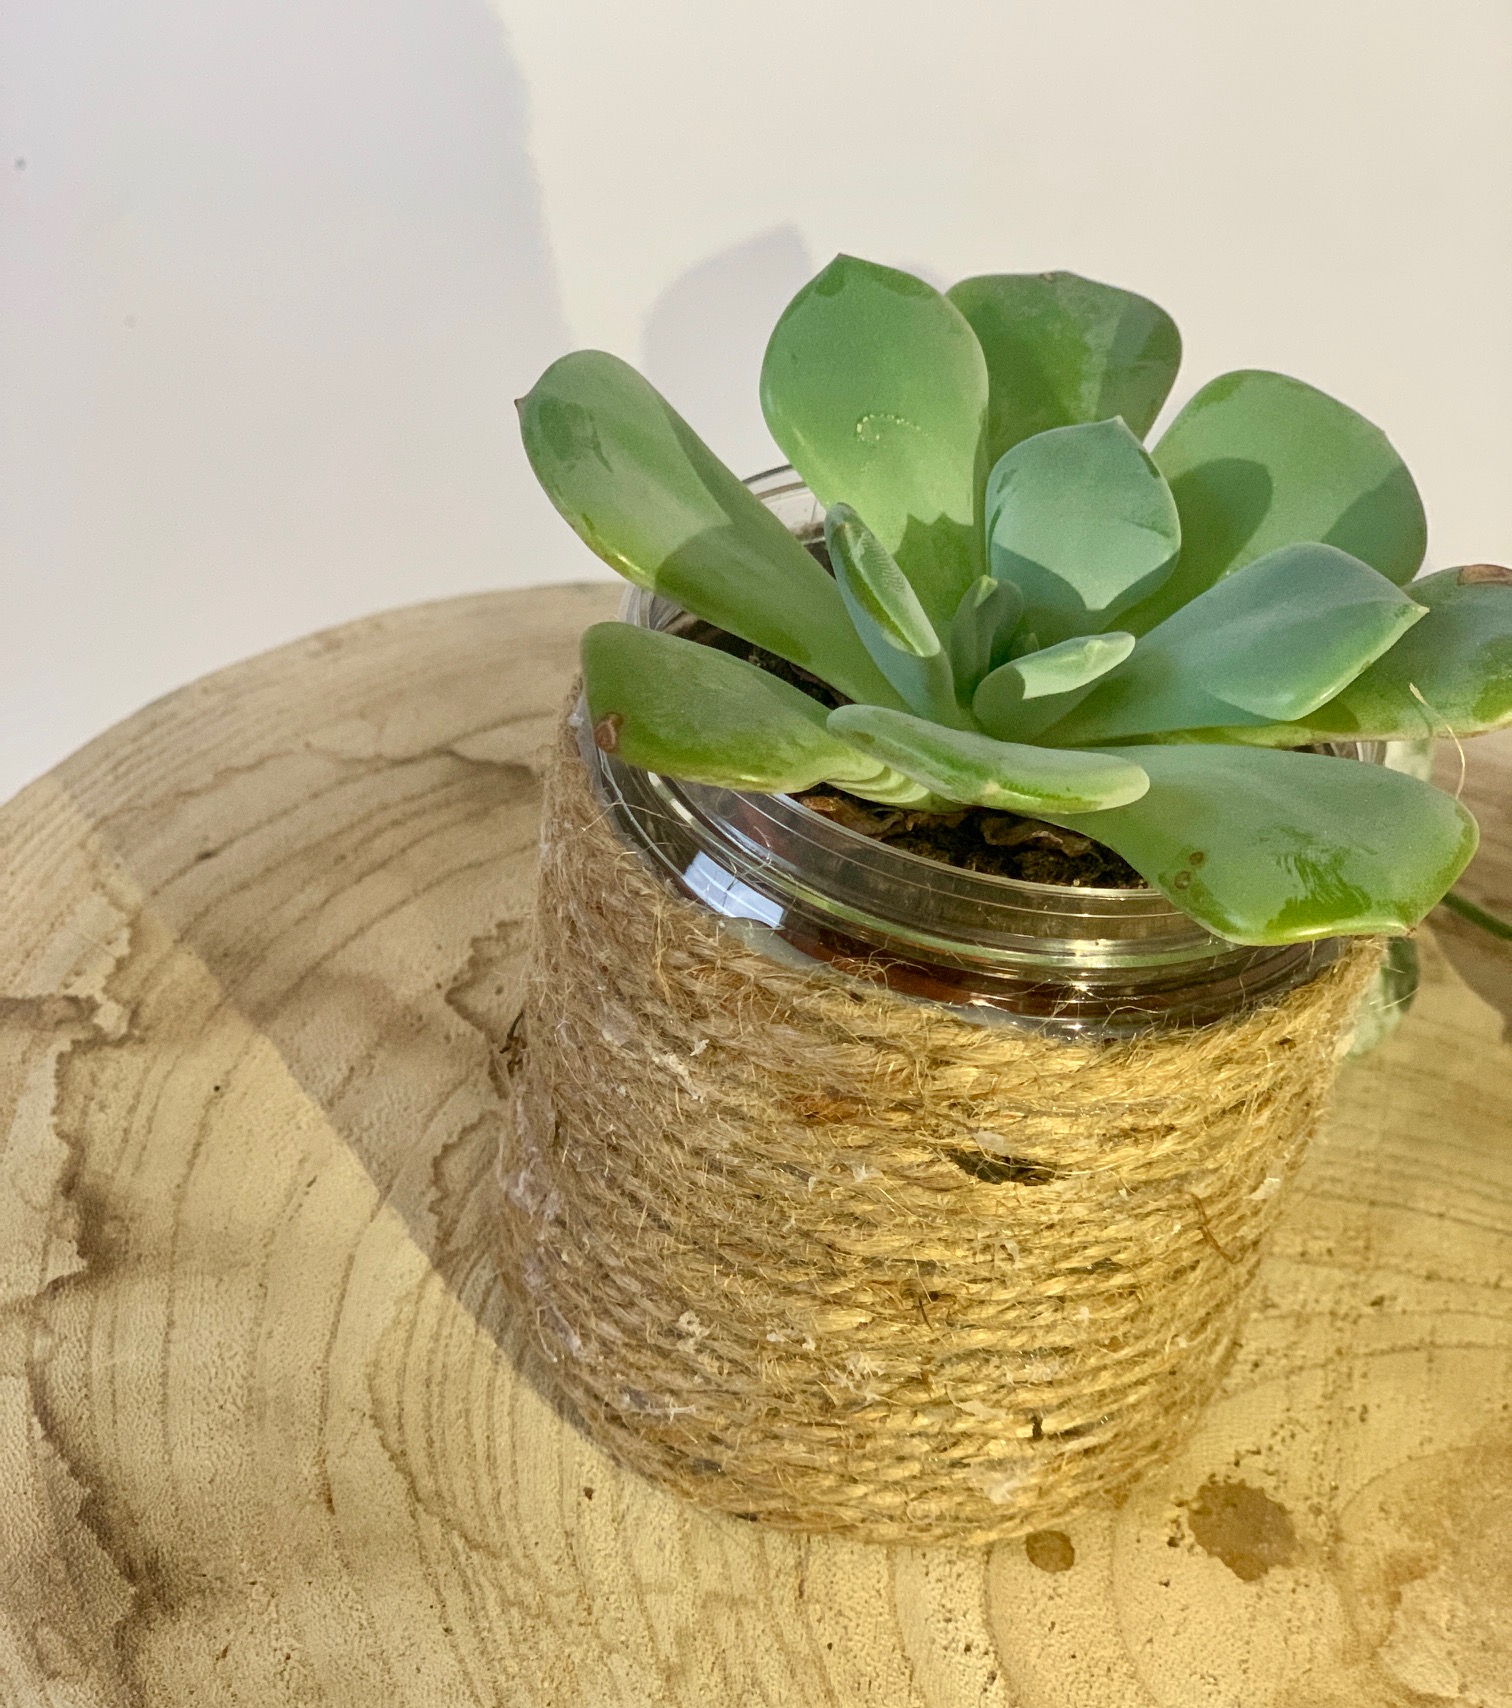
Pot cover or storage pot in natural rope
Tuto for making the pot cover / storage pot
Materials required:
- - Rope (we've chosen a natural jute cord, but you're free to choose another type of rope or even raffia)
- - 1 pair of scissors
- - 1 hot glue gun
Precautions : Before you start, remember to protect your work area to avoid leaving glue marks or damaging your table. Remember to clean your empty jar or container before you start.
Stages of production :
1 - Apply a dot of hot glue to the end of your rope to secure it to your pot.
2 - Little by little, wrap your rope around your pot, adding a dot of glue in places to hold everything together.
3 - Continue until your pot is completely covered
4 - Cut the rope and don't forget to apply glue to ensure a good hold.
WAAM tips :
You can then, if you wish, make pompons from the same rope to suit your tastes. You can also use this decorative tip to transform your oil bottles into a pretty soliflore, for example.
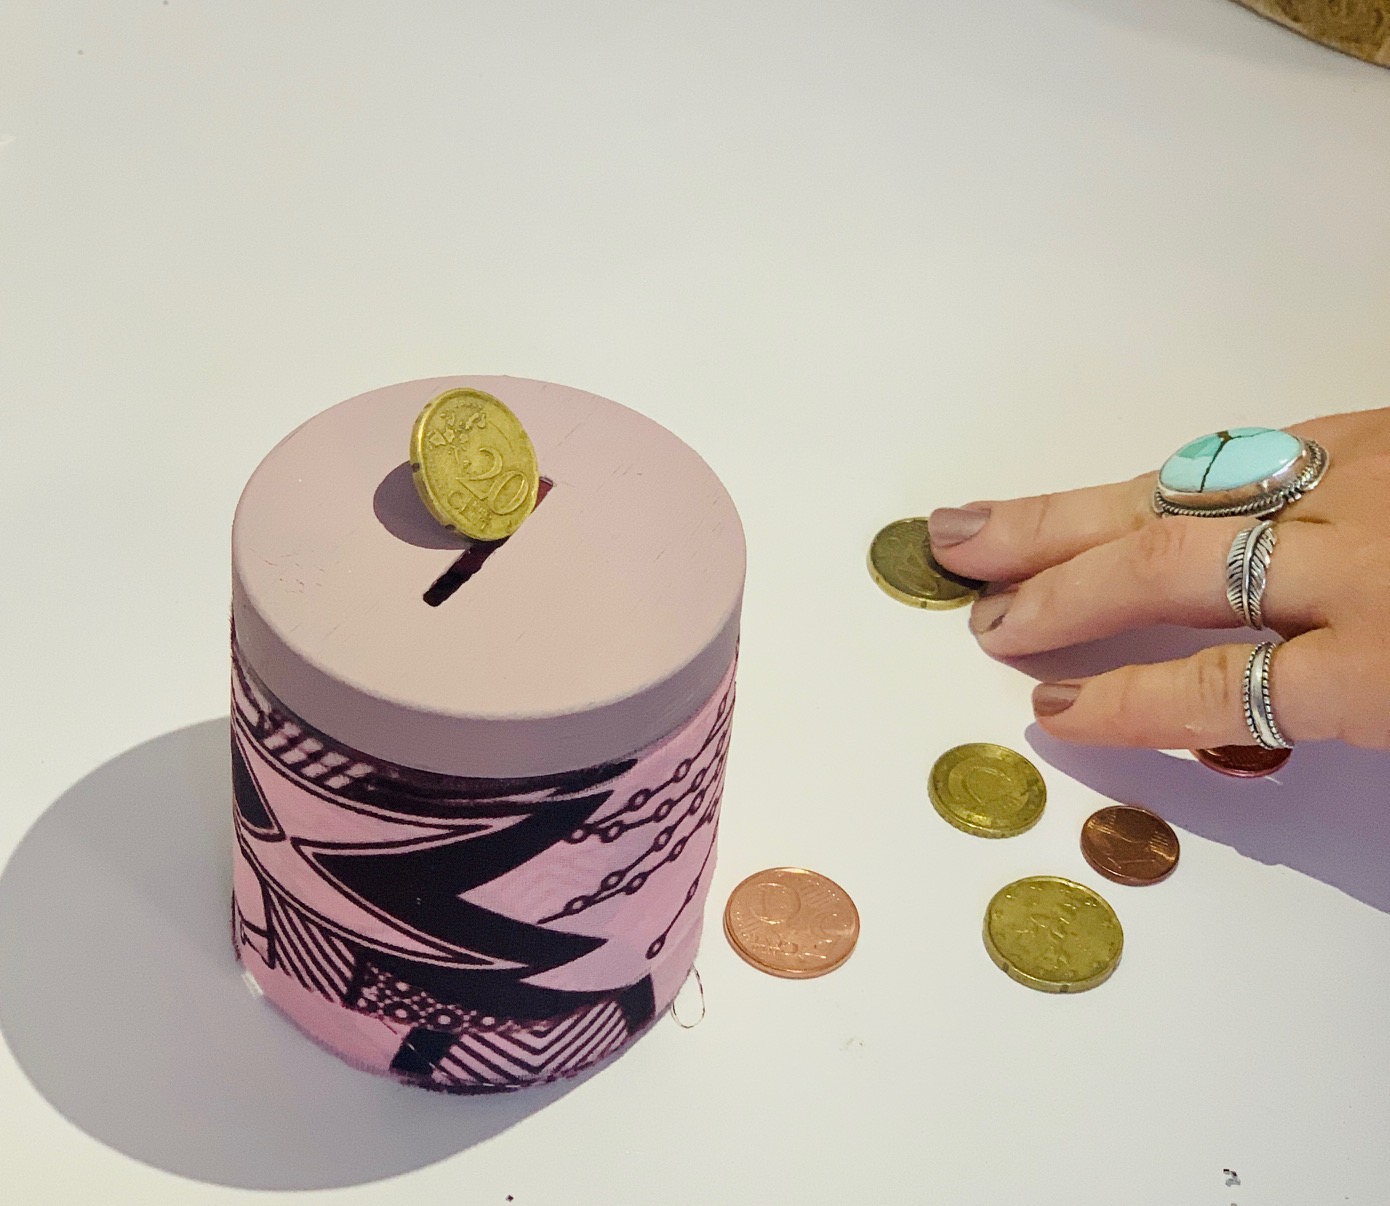
Children's piggy bank
Pot making tutorial
Materials required:
- Your empty Clay pot
- 1 cutter
- 1 rule
- 1 marker
- 1 strong liquid glue
- Decorative paper or fabric ribbon
- 1 pair of scissors
Precautions : Before getting started, remember to protect your work area to avoid leaving glue marks or damaging your table.
Stages of production :
1 - Start by thoroughly cleaning your empty pot.
2 - Take the lid of the jar and, using a ruler and a marker, mark a slot for the coins or banknotes. A slot of 3.5cm x 7mm will be ideal.
3 - Carefully cut the slot with the cutter.
4 - All that's left is to decorate the pot as you wish. You can paint it, cover it with rope as we did to make pot covers (link), or cover it with paper as we did here.
WAAM tips :
You can let your imagination run wild when decorating your piggy bank with fabric, string or other paper.
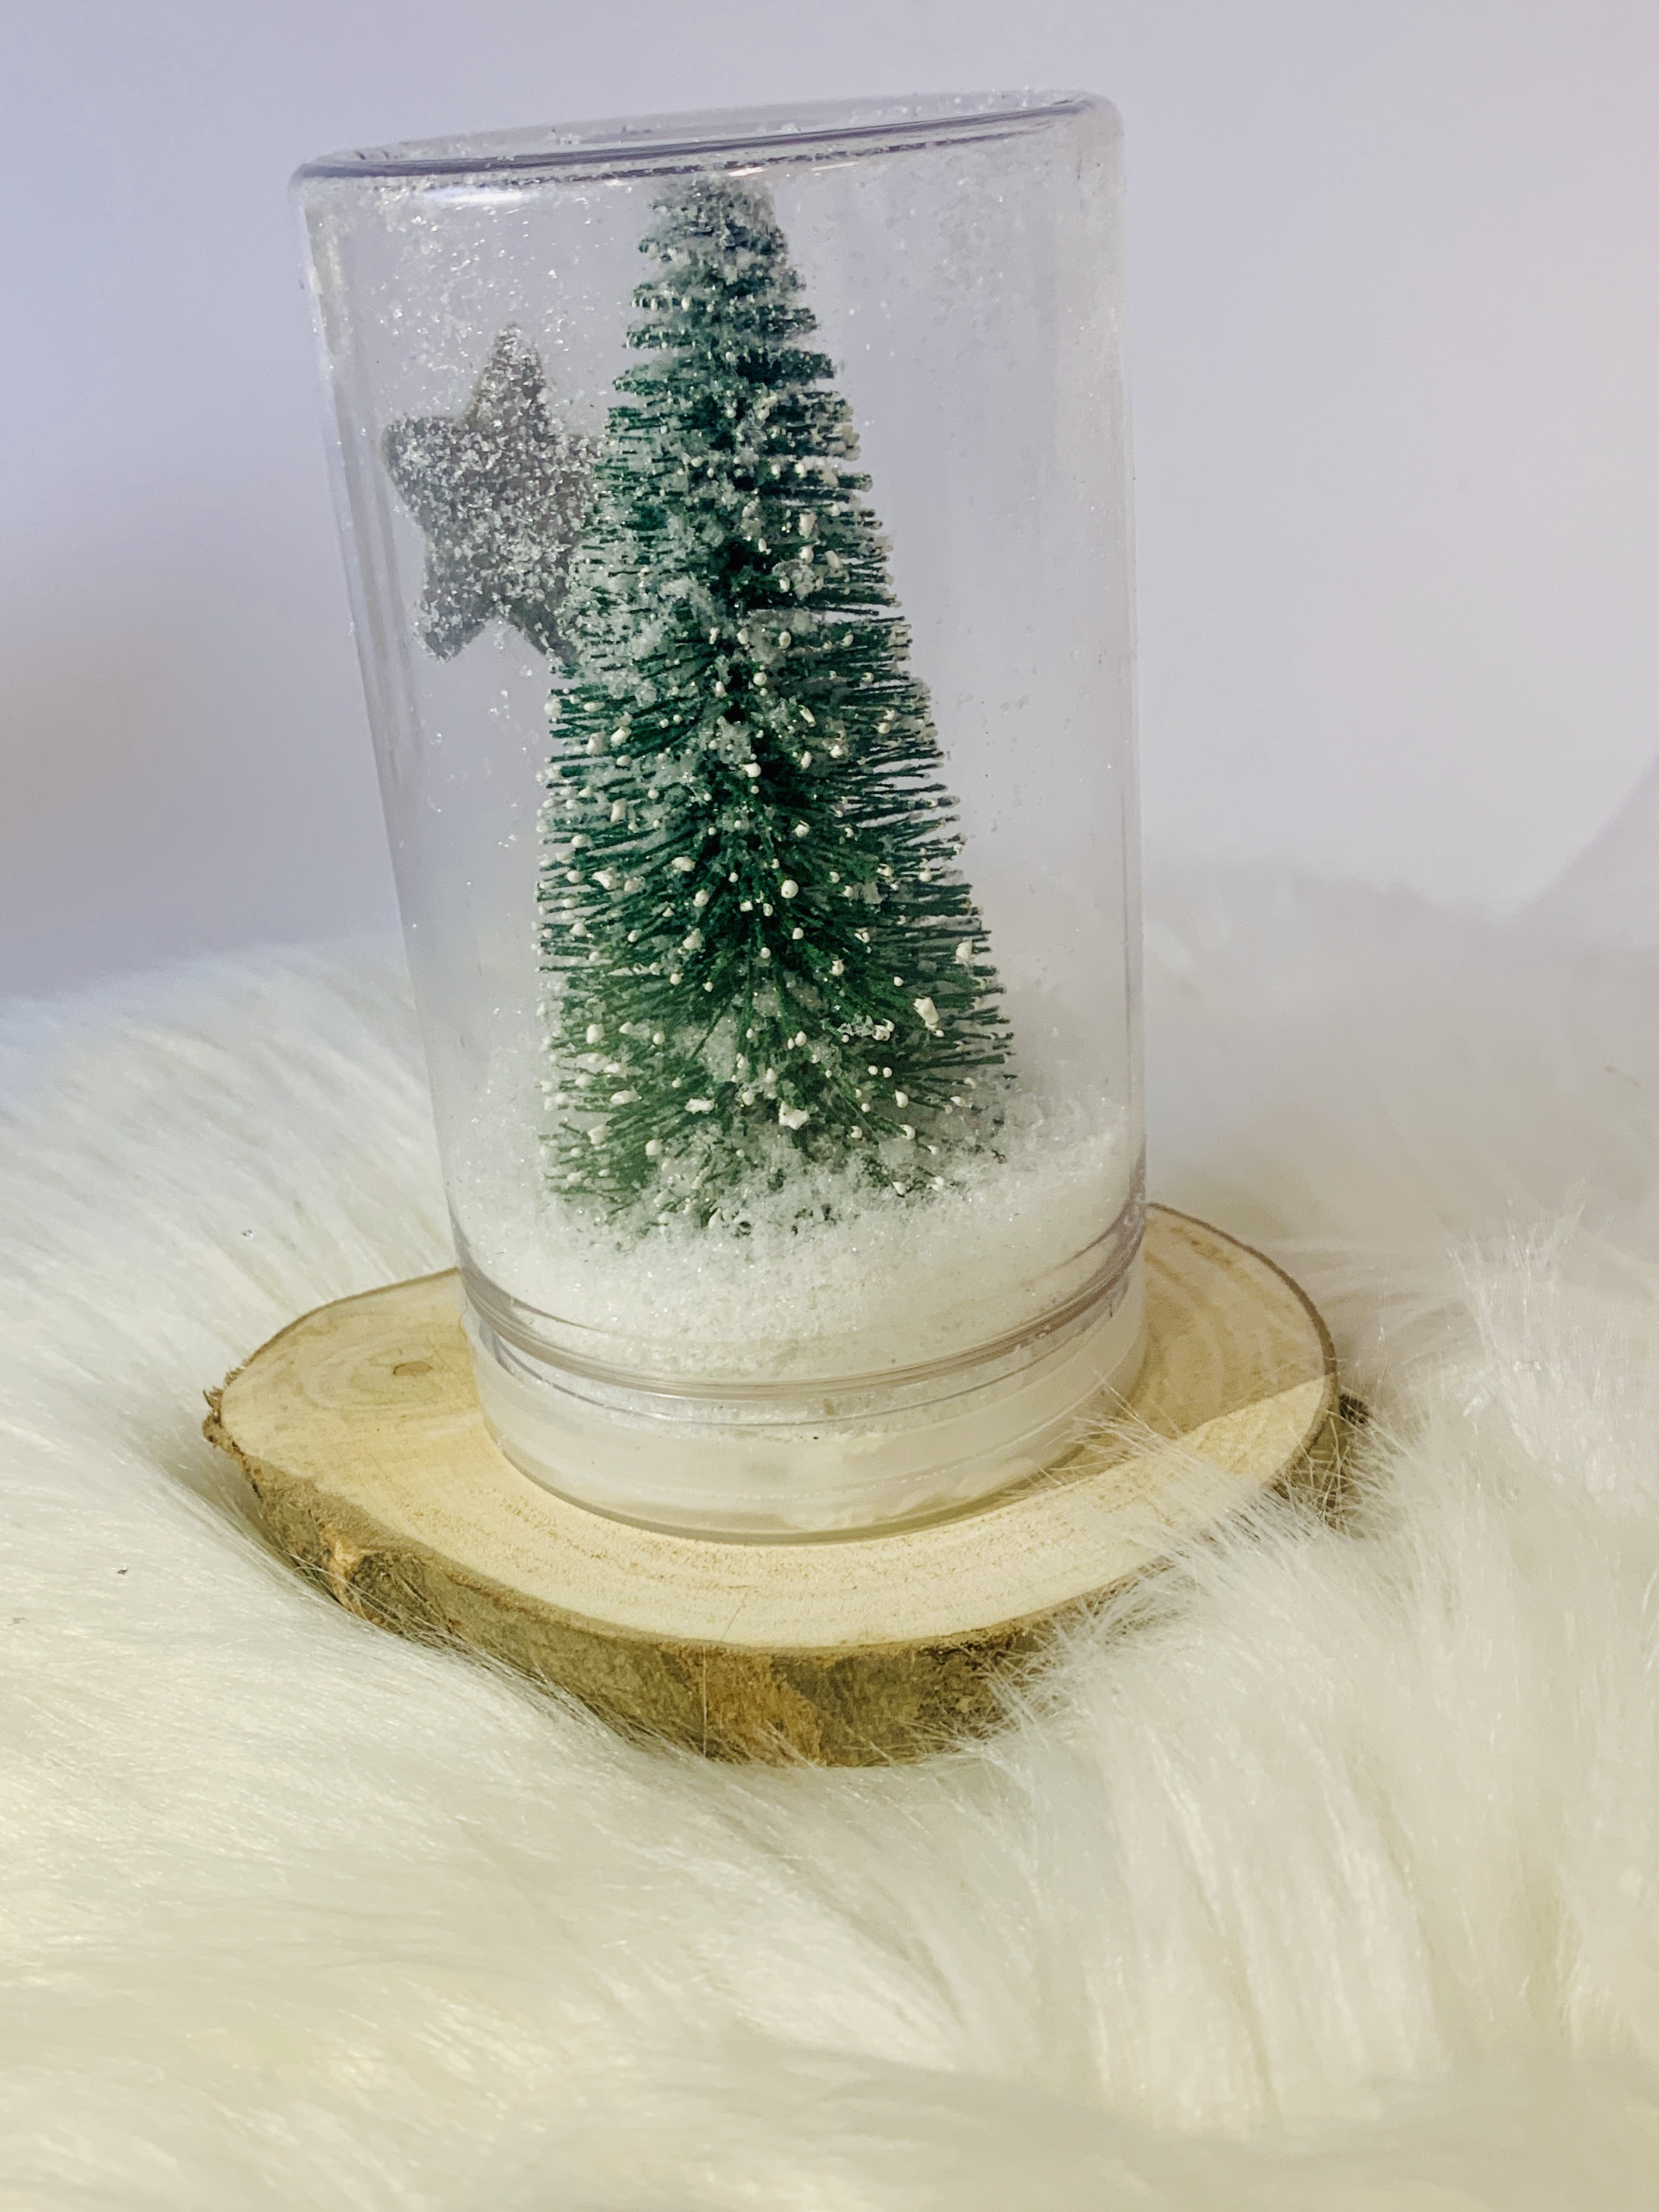
Snowball
Snowball making tutorial
Materials required:
- Your empty jar (powder, clay or salt jar)
- Fake snow or polystyrene beads
- Accessories (mini Christmas tree or other, as you wish)
- Hot glue gun
Precautions : Before getting started, remember to protect your work area to avoid leaving glue marks or damaging your table.
This activity can be carried out with children, but please take care to supervise young children, especially when using the hot glue gun and handling the fake snow, which should not be ingested.
Stages of production :
1 - Start by thoroughly cleaning your empty pot.
2 - Take the jar lid and glue your tree or other decoration to the inside with a dot of hot glue. Hold the element in place, pressing lightly until the glue has dried.
3 - You can glue on cotton to add a soft, wintry touch.
4 - Put the fake snow in the pot.
5 - You can glue decorations such as stars to the sides of the pot if you wish.
6 - Now all you have to do is close the jar and shake it whenever you feel like it.
WAAM tips :
If this decorative element is aimed at the little ones, don't hesitate to fix the stopper to the pot after filling it, so that they can't open it and there's no risk.
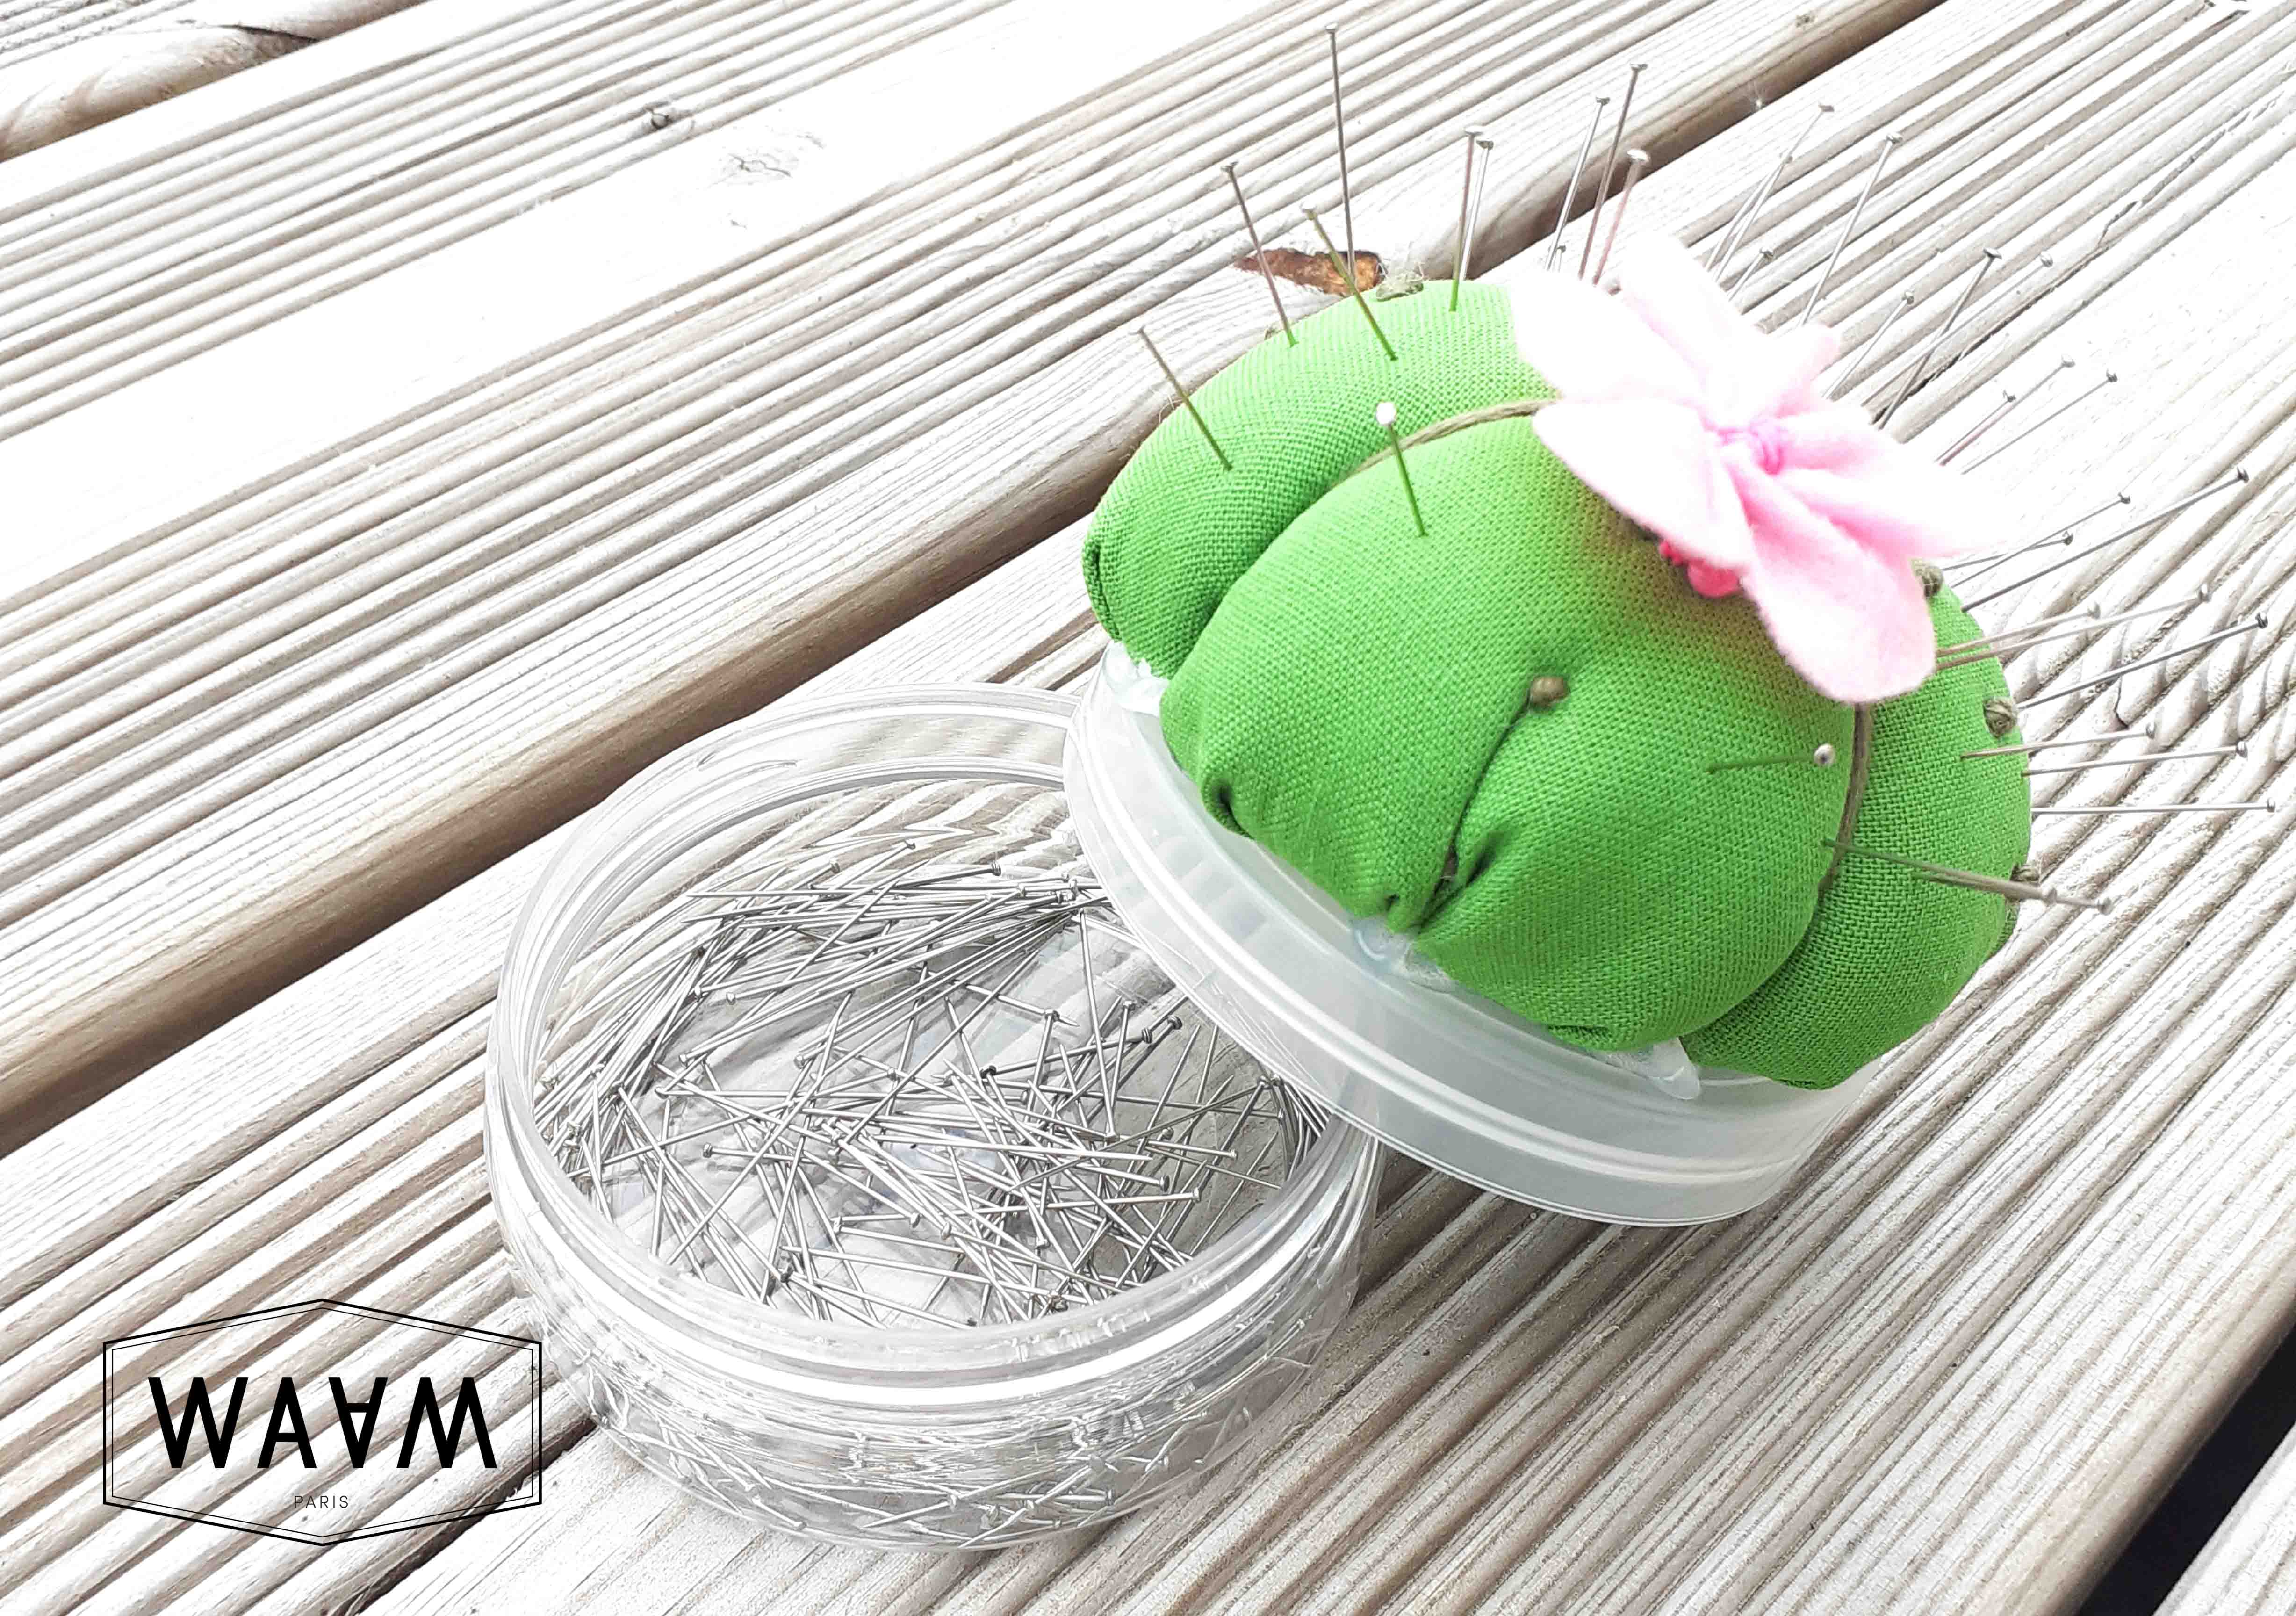
Needle holder
How to make a needle holder
Materials required:
- - Your jar of exfoliant, clay or powder
- - A piece of fabric (a disc about 26cm in diameter)
- - Upholstery from cushions or old stuffed toys
- - A pair of scissors
- - A hot glue gun
- - Needle and thread
Precautions : Before you start, remember to protect your work area to avoid leaving glue marks or damaging your table. Remember to clean your empty jar or container before you start.
Stages of production :
1 - Start by washing your empty bottle thoroughly and removing the label.
2 - Cut a piece of fabric into a disc about 26cm in diameter.
3 - Place a handful of cushion filling in the center of the disc. If you don't have one, you can replace it with the inside of an old stuffed toy, for example.
4 - Close the fabric disc over the top to form a sausage.
5 - Use a piece of string to tie a tight knot.
6 - You can now personalize the resulting ball as you wish. Here we've chosen to make a cactus. We've sewn a flower and cotton dots.
7 - Once the fabric part is finished, all that's left to do is glue it to the aluminum or plastic lid (depending on which jar you've chosen to reuse). All you need to do is use hot glue and press firmly until the glue dries.
8 - Your needle holder is ready !
Now all you have to do is put your needles in the box, close the lid and you'll be able to stick your needles directly into the lid when you make your next DIY sewing project !
WAAM tip:
You can also do this tuto with a taller pot to hold all your sewing supplies (needles, thread, buttons...)