1 - Start by washing your empty bottle and removing the label.
2 - Cut a piece of fabric into a disc about 26cm in diameter.
3 - Place a handful of cushion filling in the center of the disk. If you don't have any, you can replace it with the inside of an old stuffed animal, for example.
4 - Close the fabric disc over it to form a sausage.
5 - Use a piece of string to tie a tight knot.
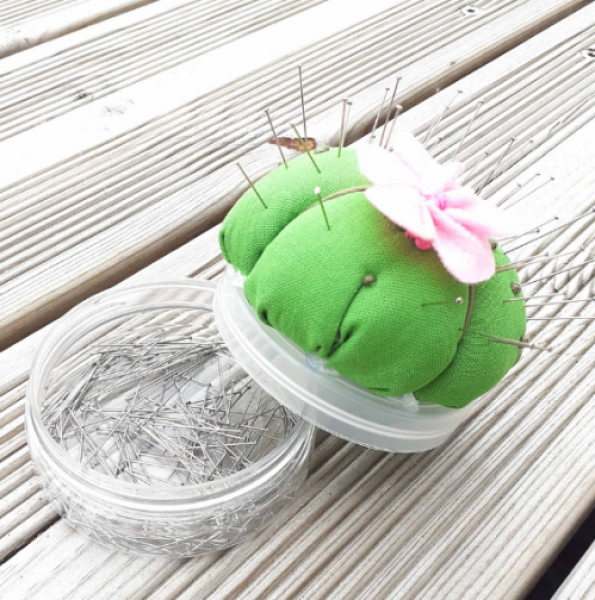
6 - You can now personalize the ball as you wish. Here we've chosen to make a cactus. We've sewn a flower and cotton dots.
7 - Once the fabric part is finished, all that's left to do is glue it to the aluminum or plastic lid (depending on the jar you've chosen to reuse). All you need to do is use hot glue and press firmly until the glue dries.
8 - Your needle holder is ready! All that's left to do is put your needles in your box, close the lid and you'll be able to stick your needles directly into the lid when you make your next DIY sewing projects!
.jpg)
.jpg)